12.17.15 Drawers, propane, heater and more!

Sorry for the big hiatus!  We were fast at work over on the tree lot. Mostly selling trees, but a little bit working on the bus in our spare moments as well. 

However, as of last Wednesday, we were officially done with the trees, which meant we were able to continue working on the bus until we left San Antonio on Monday. And now that we're settled into our comfy RV resort on the coast of Texas with plentiful wifi, I can start catching up on posting about the work we've accomplished.

Because we've managed to eek out so many projects during our time in Texas, loading it all into one post not only seemed daunting to me, but Christian made the smart observation that anyone reading it might quickly become overwhelmed as well.

So, I'm going to tackle blogging about one project (or, in this case, small group of projects) at a time until we've completely caught up!


Drawers/Propane/Heater:

One of the big projects we needed to tackle was finding ways to utilize some of the empty space in the kitchen. There were some spots where there used to be drawers, but they didn't come with the set. Christian set about to make some drawers for that under-counter space to hold our dishes, cookware and pantry. Beneath the oven space we created was also a spot screaming its unused potential, so he decided to make a drawer to hold random household objects and cleaning supplies as well as providing a spot to mount our small propane heater.

I wish I'd taken a better photo of these drawers. When I finally take the time to build a dedicated photo page for our conversion, I'll include one for sure. There are two large deep and heavy duty drawers to hold our cooking ware, dishes and pantry…

I wish I'd taken a better photo of these drawers. When I finally take the time to build a dedicated photo page for our conversion, I'll include one for sure. There are two large deep and heavy duty drawers to hold our cooking ware, dishes and pantry items in the far side of the kitchen.

This is the under-oven drawer that will house the heater.

This is the under-oven drawer that will house the heater.

Christian left the propane hookups to me (I'm still not certain why he ever trusted something so dangerous to me). I had to spend half a day driving all the way across San Antonio to a special propane shop to find all the specific connectors we needed to hook up our tank to the oven and heater for dual use.

After running through the order in which I needed to hook everything up no less than three times with the fine gentleman at the propane place. I also made him retell me how to correctly use teflon tape to wrap the connections and then how to test with soapy water for leaks.

The connecting took me a while, because I did find some leaks and had to redo multiple connections or ask Christian to use his brute strength to tighten them a little bit more (tight plus grunt!).

Once we were finally confident that I wasn't about to kill us via propane leaks, we fired up our heater to test it out.

It had gotten particularly cold a few nights in a row (down in the 30s), so we had been driven by the chill to push forward with this project. We were glad we did, as the night we got it all working was a frigid one. It also provided an enormous drying power, which is arguably as nice as the heat.

Loulou was at first skeptical of the odd hissing noises and crackling sounds the heater made as it was warming up, but she quickly realized that it gave off heat and made it her business to stick nearby.

Hooking up the oven was the final leg of the propane project. It meant no more dragging out our single-burner camp stove to heat up food or water. We were excited.

In addition to the hookups, we wanted to make the propane/water storage area more travel friendly. We're fairly certain we will upgrade our water storage at some point (we just took these jerry cans from the Campbulance), but until then, we operate with two 5 gallon cans.

We decided to cut holes in the base of the kitchen to allow the propane and water to nestle into cubbies on the floor and not move while we drive. This meant dragging out the jigsaw and adding a little more sawdust to our already dusty construction-zone of a bus. (I keep telling Christian I want a Dirt Devil for Christmas, but he's not convinced.)

The cubbies work like a charm, giving us the peace of mind that when we drive we won't have a propane tank or water jugs sliding around. (We still haven't decided on a permanent grey water storage system yet…this was also stolen from the Campbulance.)

As always, I've got to include a photo of Loulou enjoying the bus life. Here she is taking advantage of the afternoon sun. (She's well-trained enough that she'll only venture out if we set her stool out for her.)

11.11.15 - Last Day of Work - Day 15.

Today was a stressful day, to say the least. With plans to leave tomorrow, it was the big push to finish any nit-picky projects up and get the bus loaded.

The first step of the day was getting the bed base fitted into the bed frame. It took some sawing and a little hammering, but once it was in, it looked great!

Mindy, the supervisor, always keeping an eye on things.

Mindy, the supervisor, always keeping an eye on things.

We knew rain was coming, so we decided to get a group photo with Willie and Mindy in front of Stubbs since today was our last day in his yard. I doubt he'll ever read this, so I can gush a little bit about Willie. Without him, we simply wouldn't have gotten this project as far along as we have. He offered up his space and that alone was immense, but what we got was so much more. He was constantly digging tools out of his house for us to use when what we had just didn't cut it. He always stepped in to lend a helping hand when we couldn't accomplish something on our own. He was, simply put, a godsend.

The biggest thing on our to-do list was to go to the tax assessor and dmv to register and retitle the bus. Embarrassingly, it slipped both our minds that it was a federal holiday (thank you veterans!), so the offices were closed. No big deal, we'll go in the morning before we leave.

With that chore being put off, we decided to head to Lowes for a piece of wood to make into a temporary countertop for the kitchen. As always, what was intended to be a simple project turned into a hassle. After mulling over the plywood options, we ended up deciding to just go ahead and get the wood I wanted for the final countertop. This meant we needed stain and poly as well as fasteners (we got two 12-in pieces to put together to use as one counter). Once again, we spent way more time in Lowes than intended.

As we were out shopping, the sky opened up and it began to downpour. Christian worked to get the countertop in as the daylight quickly faded into darkness and we both felt our frustrations with having not accomplished much start to float to the surface.

Luckily, the timing seemed to work out slightly in our favor, because when we finally made our way home with the bus to start loading our belongings, the rain was finally starting to let up. After a quick dinner with the family, we began toting our stuff out into the bus with hopes of shoving off earlier than later tomorrow.

Because so much of our storage isn't built yet, it was a challenge finding places for everything. We still have a lot of lumber to use for upcoming projects once we're settled in Texas, so on top of everything else, we have to live with that in our space for a while.

The beginnings of loading our stuff…

The beginnings of loading our stuff…

We worked loading and organizing until nearly midnight and would be fast asleep if I weren't so dead set on keeping my perfect record of documenting every day of this whirlwind conversion.

I don't have any photos of what the interior looks like almost completely loaded up, so I'll take some tomorrow before we shove off.

11.10.15 - Paint done, loft built - Day 14.

Today was our big push to finish the exterior of the bus and start focusing solely on the interior habitable space. Knowing that, we decided to tackle two tasks at once. I would tape off and paint the remaining stripes (I still had one full side of navy stripes to paint, in addition to a teal accent panel I was dead set on doing) while Christian continued to frame out the bed loft/garage area.

The bus, as we left it yesterday.

The bus, as we left it yesterday.

We made a morning run to the hardware store for a few select supplies and received a text from my Grandpa Bert asking what we needed help with today. I told him our plan and wouldn't you know, he pulled into the barn area right behind us as we arrived. We couldn't have been more thankful for his willingness to help. With him there to give me a hand taping off all of the stripes to paint, Christian could go about his carpentry without interruption.

I can't emphasize enough what a task it is preparing for the painting. With such clean lines to work with, it was so important to lay out the tape as precisely as possible, which meant going slowly and double checking everything. Not to mention, the bolts every few inches posed a fun obstacle when trying to achieve that straight clean line.

One coat of gloss Navy Blue applied.

One coat of gloss Navy Blue applied.

For the navy stripes, two coats was all it took to get full coverage. With my grandpa there to watch closely as I sprayed and point out spots I missed or went a little light, the work was fast when I finally got around to the painting.

I really have to hand it to Christian…he did a fantastic job of framing out and building the loft. I don't think I walked over once during the course of the day to see what he was cutting or what his plan was. I had so much else I was concentrating on getting done that I was just happy he was a few feet away [supposedly] making progress of his own. When I would take a break while my paint dried, I'd pop my head into the bus if he was working in there. Each time, more of the loft was coming together.

He didn't plan any of it, by the way. He built each portion of it as the plan came together throughout the course of the project. I think the most impressive part of the whole thing is how perfectly every element of the design worked and fit like we'd envisioned. 

Luckily my teal stripe only required a small section to be taped off. Because we'd only been able to find two cans of the glossy teal spray paint, we bought some satin of the same color to layer on as pigment before doing a final coat with glossy.

Grandpa Bert checking in on Christian's progress.

Grandpa Bert checking in on Christian's progress.

My first go-round with the teal paint, I didn't put two strips of paper down at the bottom. As a result, the wind and my negligence caused some accidental teal to land on the lower white and navy sections. I was able to touch up the white already, b…

My first go-round with the teal paint, I didn't put two strips of paper down at the bottom. As a result, the wind and my negligence caused some accidental teal to land on the lower white and navy sections. I was able to touch up the white already, but the navy I'll have to get to later. I was so many hours into working that noticing this mishap nearly caused a meltdown.

When we finally pulled all the tape and paper off, we couldn't help but admire how great Stubbs looked. It's far from perfect, but for being well under the cost of getting someone else to do it, we're incredibly pleased.

Christian continued to work on the loft space while I cleaned up and prepped to move the kitchen to its permanent spot.

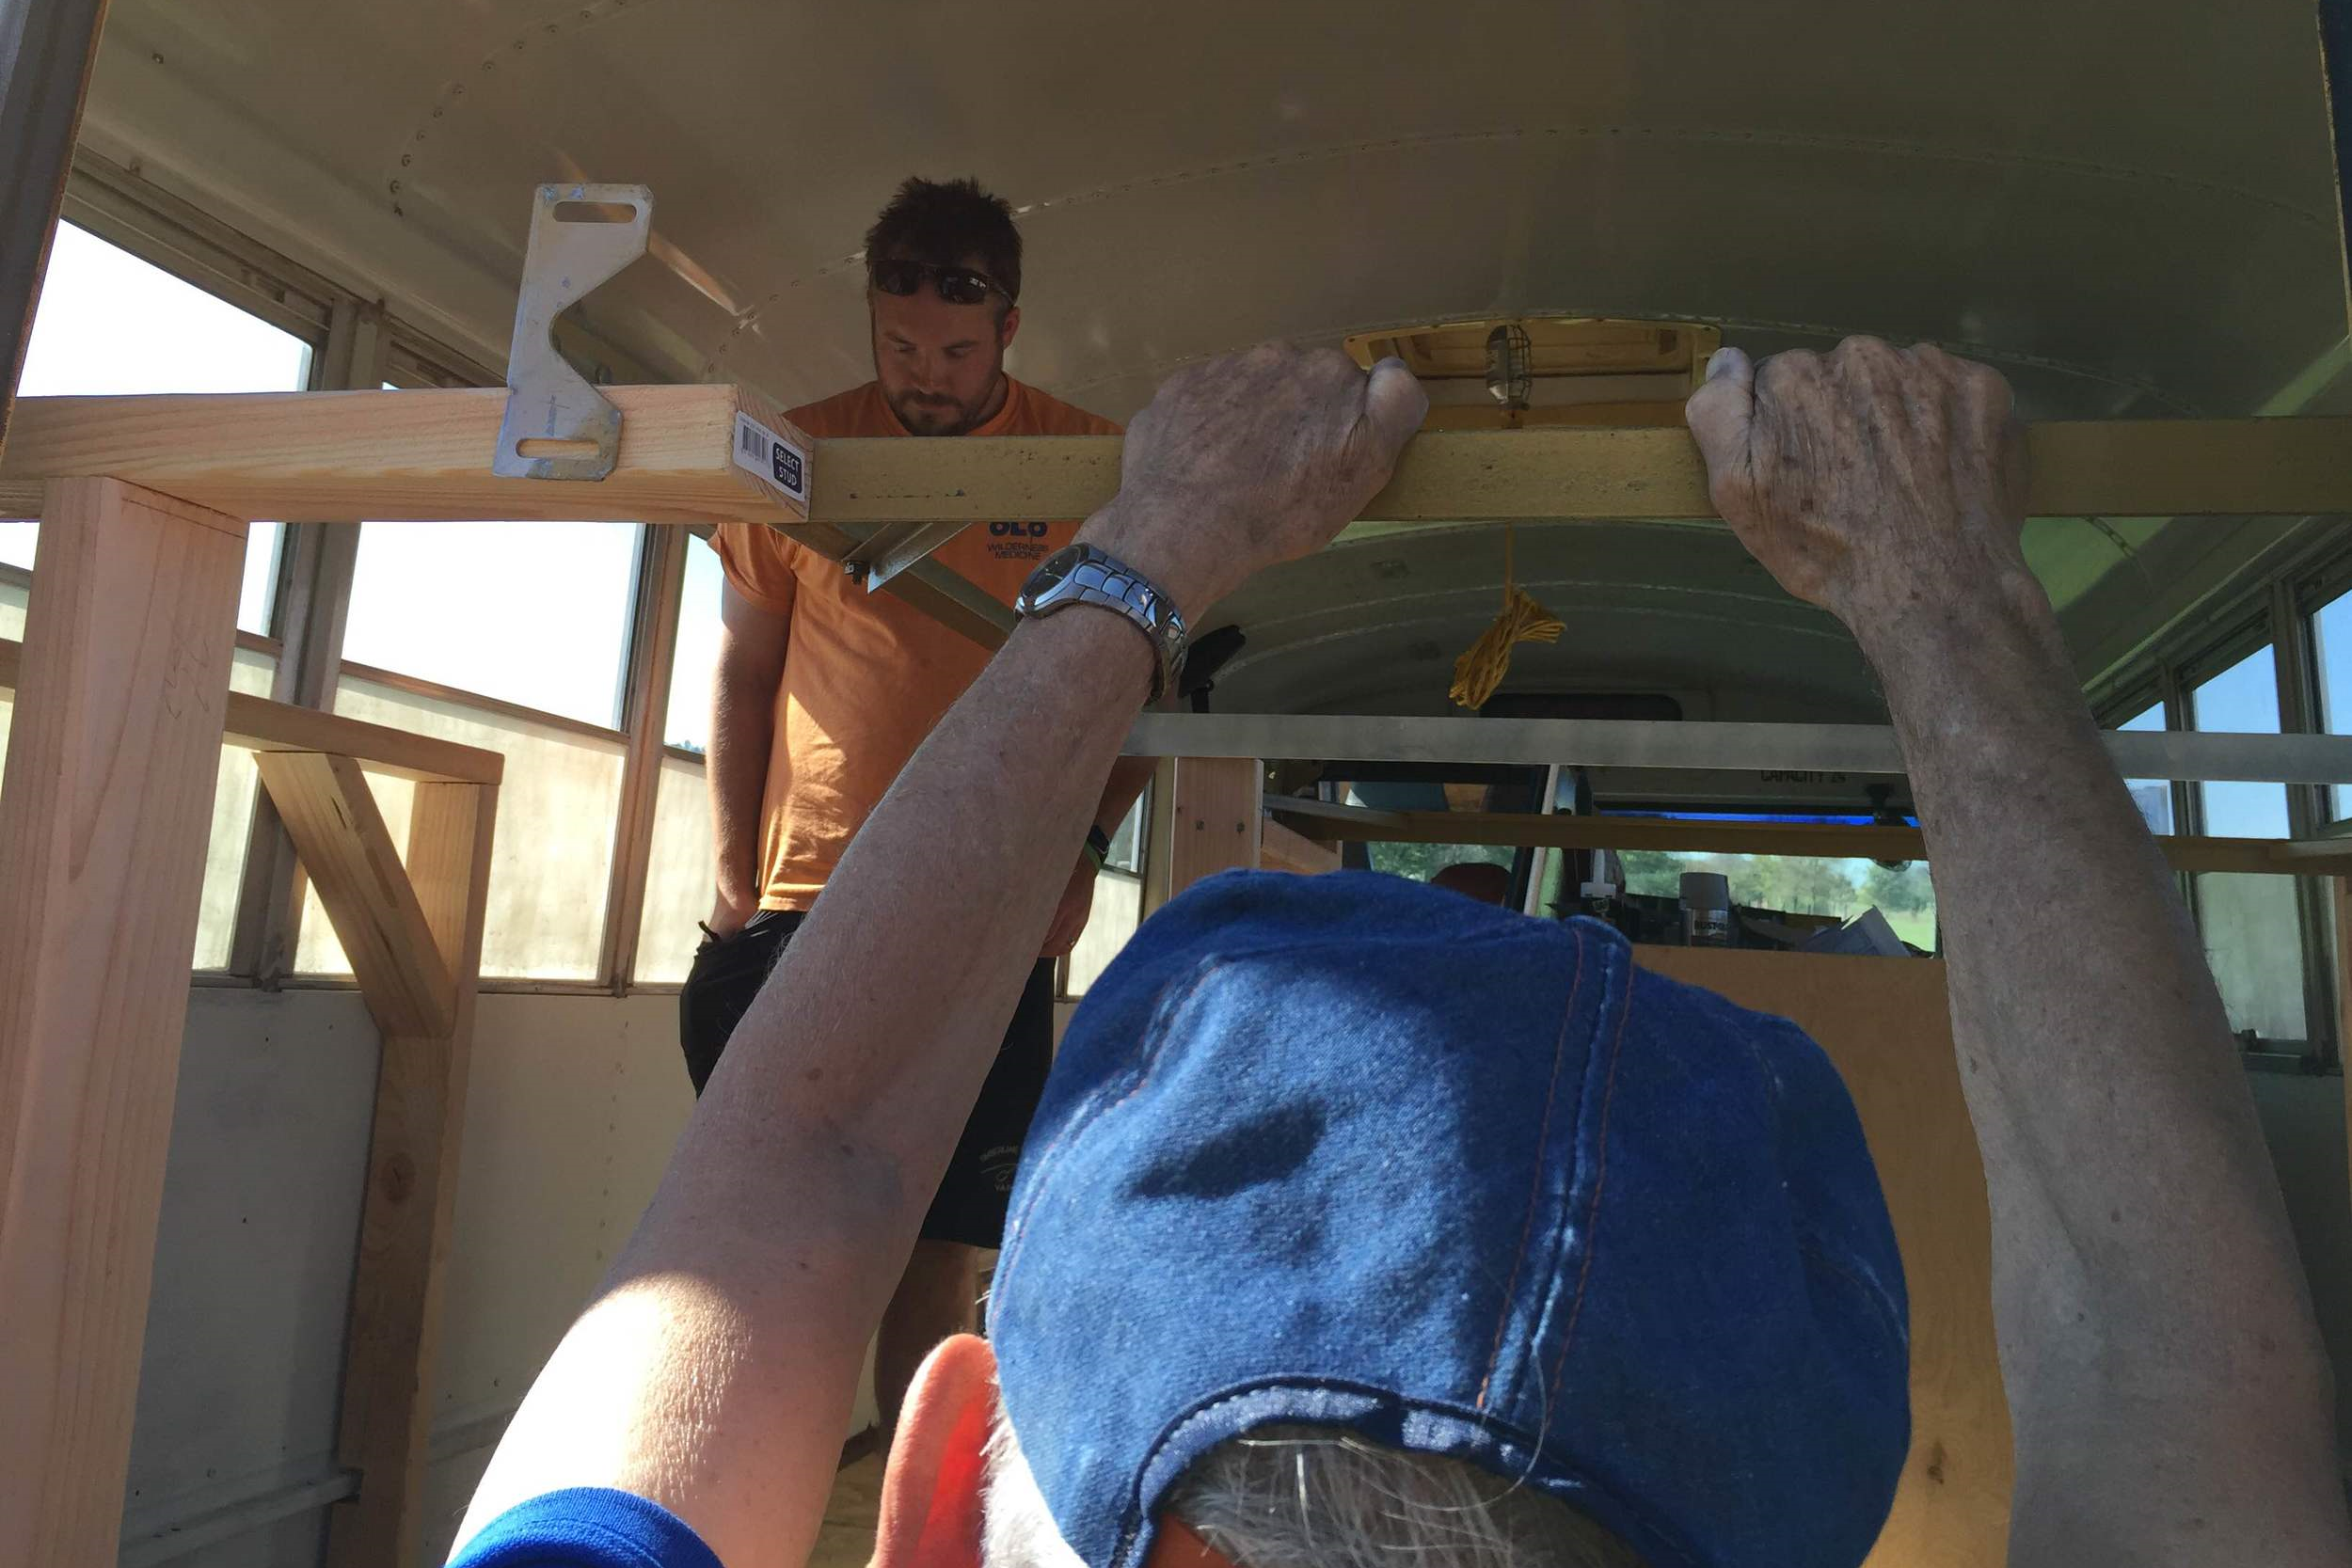
After the loft was done, Christian secured the kitchen and we moved the filing cabinets into place. Without planning, there was just enough space for a 2x4 between them, so Christian built a frame and secured everything in place. (Don't mind the ugly tan…I haven't had the time to get all "Pinteresty" on the filing cabinets yet…that will come later.)

With the loft/bed frame and kitchen in place, you can kind of really start to see the layout come together. We only have one more day left to work and load up before we leave on Thursday, so we're both pretty happy there's a bed framed out.

After moving Stubbs back to Willie's backyard, we made one last run to Lowes for some cut pieces of 3/4 inch plywood to use as the bed base. We wanted the cuts as exact as possible to prevent movement/falling through the frame, so we had them cut it at the store. Sadly, they were about 1/8 in too wide, so tomorrow's work will start with us cutting them down to fit into the frame. 

I'm including a before/after photo of Stubbs to really show off the difference that the paint job makes because we're just so stinkin' proud of it!

11.09.15 - Stubbs Gets Stripes - Day 13.

Like always, the day started with shopping. We bought a dozen 2x4s to frame out the bed, a project that we may have halfway finished. The majority of the day was spent painting, which is too bad, because we did not expect to be spending another full day on the exterior.

In between waiting for coats of Rustoleum and roof paint to dry, Chels got started covering the windows in Plasti Dip, a spray-on, peel-off rubber paint. We're using it to add privacy to our windows while keeping diffused light. Because of the ability to peel it off, we can always change it later.

I started on framing out the bed, which will be challenging due to its odd shape, and the need to keep the space beneath it as free of vertical supports as possible. Hopefully tomorrow's post will have pictures that make more sense. The bed will be lofted to create a storage area underneath, where the bikes, and hopefully my boat (and wishfully, my skis and kayak) will be kept.

Meanwhile, Chels and grandpa Bert started taping off the racing stripes.

We chose to add racing stripes over all the ridged areas of the bus because rolling on the paint was tedious and time consuming in these areas. We thought it would be faster to paint them a different color, using spray cans. This plan totally backfired, because while the end result looked awesome, the taping took FOREVER.

As the sun set, we peeled off some of Stubbs' tape, and boy-oh-boy, does that paint job look good. She's looking less like a prison bus every day. (The stripes are a dark navy.)

We worked on through the sunset into the darkness adding more Plasti Dip to the interior and more 2x4s to the bed frame. As the temperature dropped, the Plasti Dip started to do some weird clumping things on the cold glass of the windows, so maybe keep that in mind if any of you go that direction with a project. The temp was well above freezing.

All in all, we didn't accomplish as much as we'd hoped, but the bus is really starting to look good, which I think is a key element in the conversion process. Most all of the interior can come together after we leave for Texas. As long as the outside is looking good and the bed is fairly well framed in and ready for sleeping, we're good to go.

11.08.15 - More Painting - Day 12.

Paint. Paint paint paint.

We added seven more cans of Rustoleum rattle-can primer, bringing the total up to fifteen. There was a light breeze and the sun was shining, so we hoped that drying times would be a little better. We had hoped to get all the coats of paint on by the end of the day, but it didn't work out.

This is eight cans into the spray primer. Scroll down a few photos to see what it looked like fifteen cans in.

This is eight cans into the spray primer. Scroll down a few photos to see what it looked like fifteen cans in.

Chels hit the body with primer as I prepped the school bus signs for paint. At first we were thinking about painting these areas black, but I later chose to keep them white and coat them with the paint product I used on the roof.

Fifteen cans of spray primer deep, and looking good.

Fifteen cans of spray primer deep, and looking good.

I rolled on Gaco Roof Paint, which is an expensive part of an expensive system of products. It's the consistency of Fluff marshmallow topping, and rolls on thick. If you treat your roof properly, the product suite comes with a 50 year guarantee. To treat my roof properly, I would have to spend roughly $400, but I'm laying it on light and not using the expensive seam tape to save money.

Chels rolled on a first coat of super thinned out Rustoleum white glossy paint. Because we got to nearly full color on the primer, and because the primer is the same color as the paint, we have been able to go lighter on coats of the time-consuming roll on paint. If we were just rolling on paint, it would take close to ten coats, no problem. We're hoping for two.

Grandpa Bert came by again, and he's the most helpful of all the supervisors. He ended up rolling on a coat of paint with Chels, and gave us a bunch of helpful hints regarding spray painting.

The sun set and Stubbs looked good. We're the kind of painters whose work looks good in sunsets, from a distance, and when squinting. Best with all three, in fact.

Sadly, at one point as we were admiring our work, a swarm of gnats descended on our still-tacky roof and made it their permanent resting place. We were both so tired and so happy to be one step closer to the end that we just shook our heads and laughed. I guess these gnats just wanted to be part of Stubbs forever. And they will. Underneath another coating of roof paint that we roll over the top of them tomorrow…