Paint makes vans go faster.

We had hoped to be able to paint Little Foot while in Salmon and followed quite a few leads to find a place to do it indoors (so we could protect it and heat it to get the paint to cure properly). After some back and forth, we finally thought we had a spot lined up via an old friend of my dad. When the morning came, we loaded up the supplies (including tarps to cover anything nearby since we decided to go the "easy" spray paint route this time around) and headed over to the spot.

Salmon, ID, refuses to not be pretty.

Salmon, ID, refuses to not be pretty.

Plan A foiled. On to plan B.

Plan A foiled. On to plan B.

Unfortunately for us, the garage bay (that happened to be on the lot of a government agency) was for use by employees only. But because God was watching out for us, one of the other gentlemen at the lot offered us the use of his personal garage, just up the road. He mentioned it was outfitted with a paint booth, and we couldn't say yes fast enough!

The owner of the workshop mentioned we'd have to move a project out of the way. He didn't mention it was a home-built, 5.7L Corvette-powered hotrod!

The owner of the workshop mentioned we'd have to move a project out of the way. He didn't mention it was a home-built, 5.7L Corvette-powered hotrod!

Think short thoughts! We barely fit. You can see the exhaust fan on the left side of the garage door.

Think short thoughts! We barely fit. You can see the exhaust fan on the left side of the garage door.

We pulled the wood stove's draft cap off the chimney, slid Little foot into the garage, dropped the paint booth's walls. and got to work on prep. The most important part of any paint project is preparation. Between cleaning, sanding, and taping, the preparation should take at least 1/2 the time allotted for the project. 

Tape tape tape.

Tape tape tape.

After everything was taped, we coated Little Foot with automotive primer. A solid coat of primer should keep the original paint from seeping through, as well as allow for strong adhesion of the new paint.

We turned Little Foot into the Tin Man!

We turned Little Foot into the Tin Man!

After priming we started in on the top coat. We had wanted something simple, so we chose an aluminum gloss paint, thinking it would be a muted silver. We were WAY off! The paint was darn close to a mirror finish. We had turned our matte green steed into the Tin Man, and we were worried. Little Foot looked comical, and not the good kind of comical. In an effort to tone down the silver, we decided to quickly add original, olive drab racing stripes. For what may be the first time in automotive history, racing stripes were added to a vehicle to make it look less ridiculous. 

I'm just posing. Chelsea did all the geometry work on the stripes. I think they look great!

I'm just posing. Chelsea did all the geometry work on the stripes. I think they look great!

Clear coat misery.

Clear coat misery.

After finishing the racing stripes we decided to clear coat Little Foot to add some protection to the paint. About half a can in, Chelsea noticed that the clear coat was causing the aluminum paint to run. It looked terrible! After inspecting the warning labels on the clear coat, we read "DO NOT USE ON ALUMINUM FINISHES." Oops. Luckily, we realized that we weren't suppose to use the clear coat on aluminum finishes because it reduces the reflective qualities of the paint, effectively removing the sheen. This was an enormous blessing to us, because it muted the super shiny paint job, and left us with a gentle silver finish. Perfect! All our mistakes turned into one decent, cheap paint job.

So now Little Foot looks a lot faster, and a lot less like an army van, which was exactly why we painted him in the first place. We really didn't want to travel over any borders looking like a lost band of paramilitary soldiers. We may get robbed as tourists, but at least we won't be posing as something we're not.

11.10.15 - Paint done, loft built - Day 14.

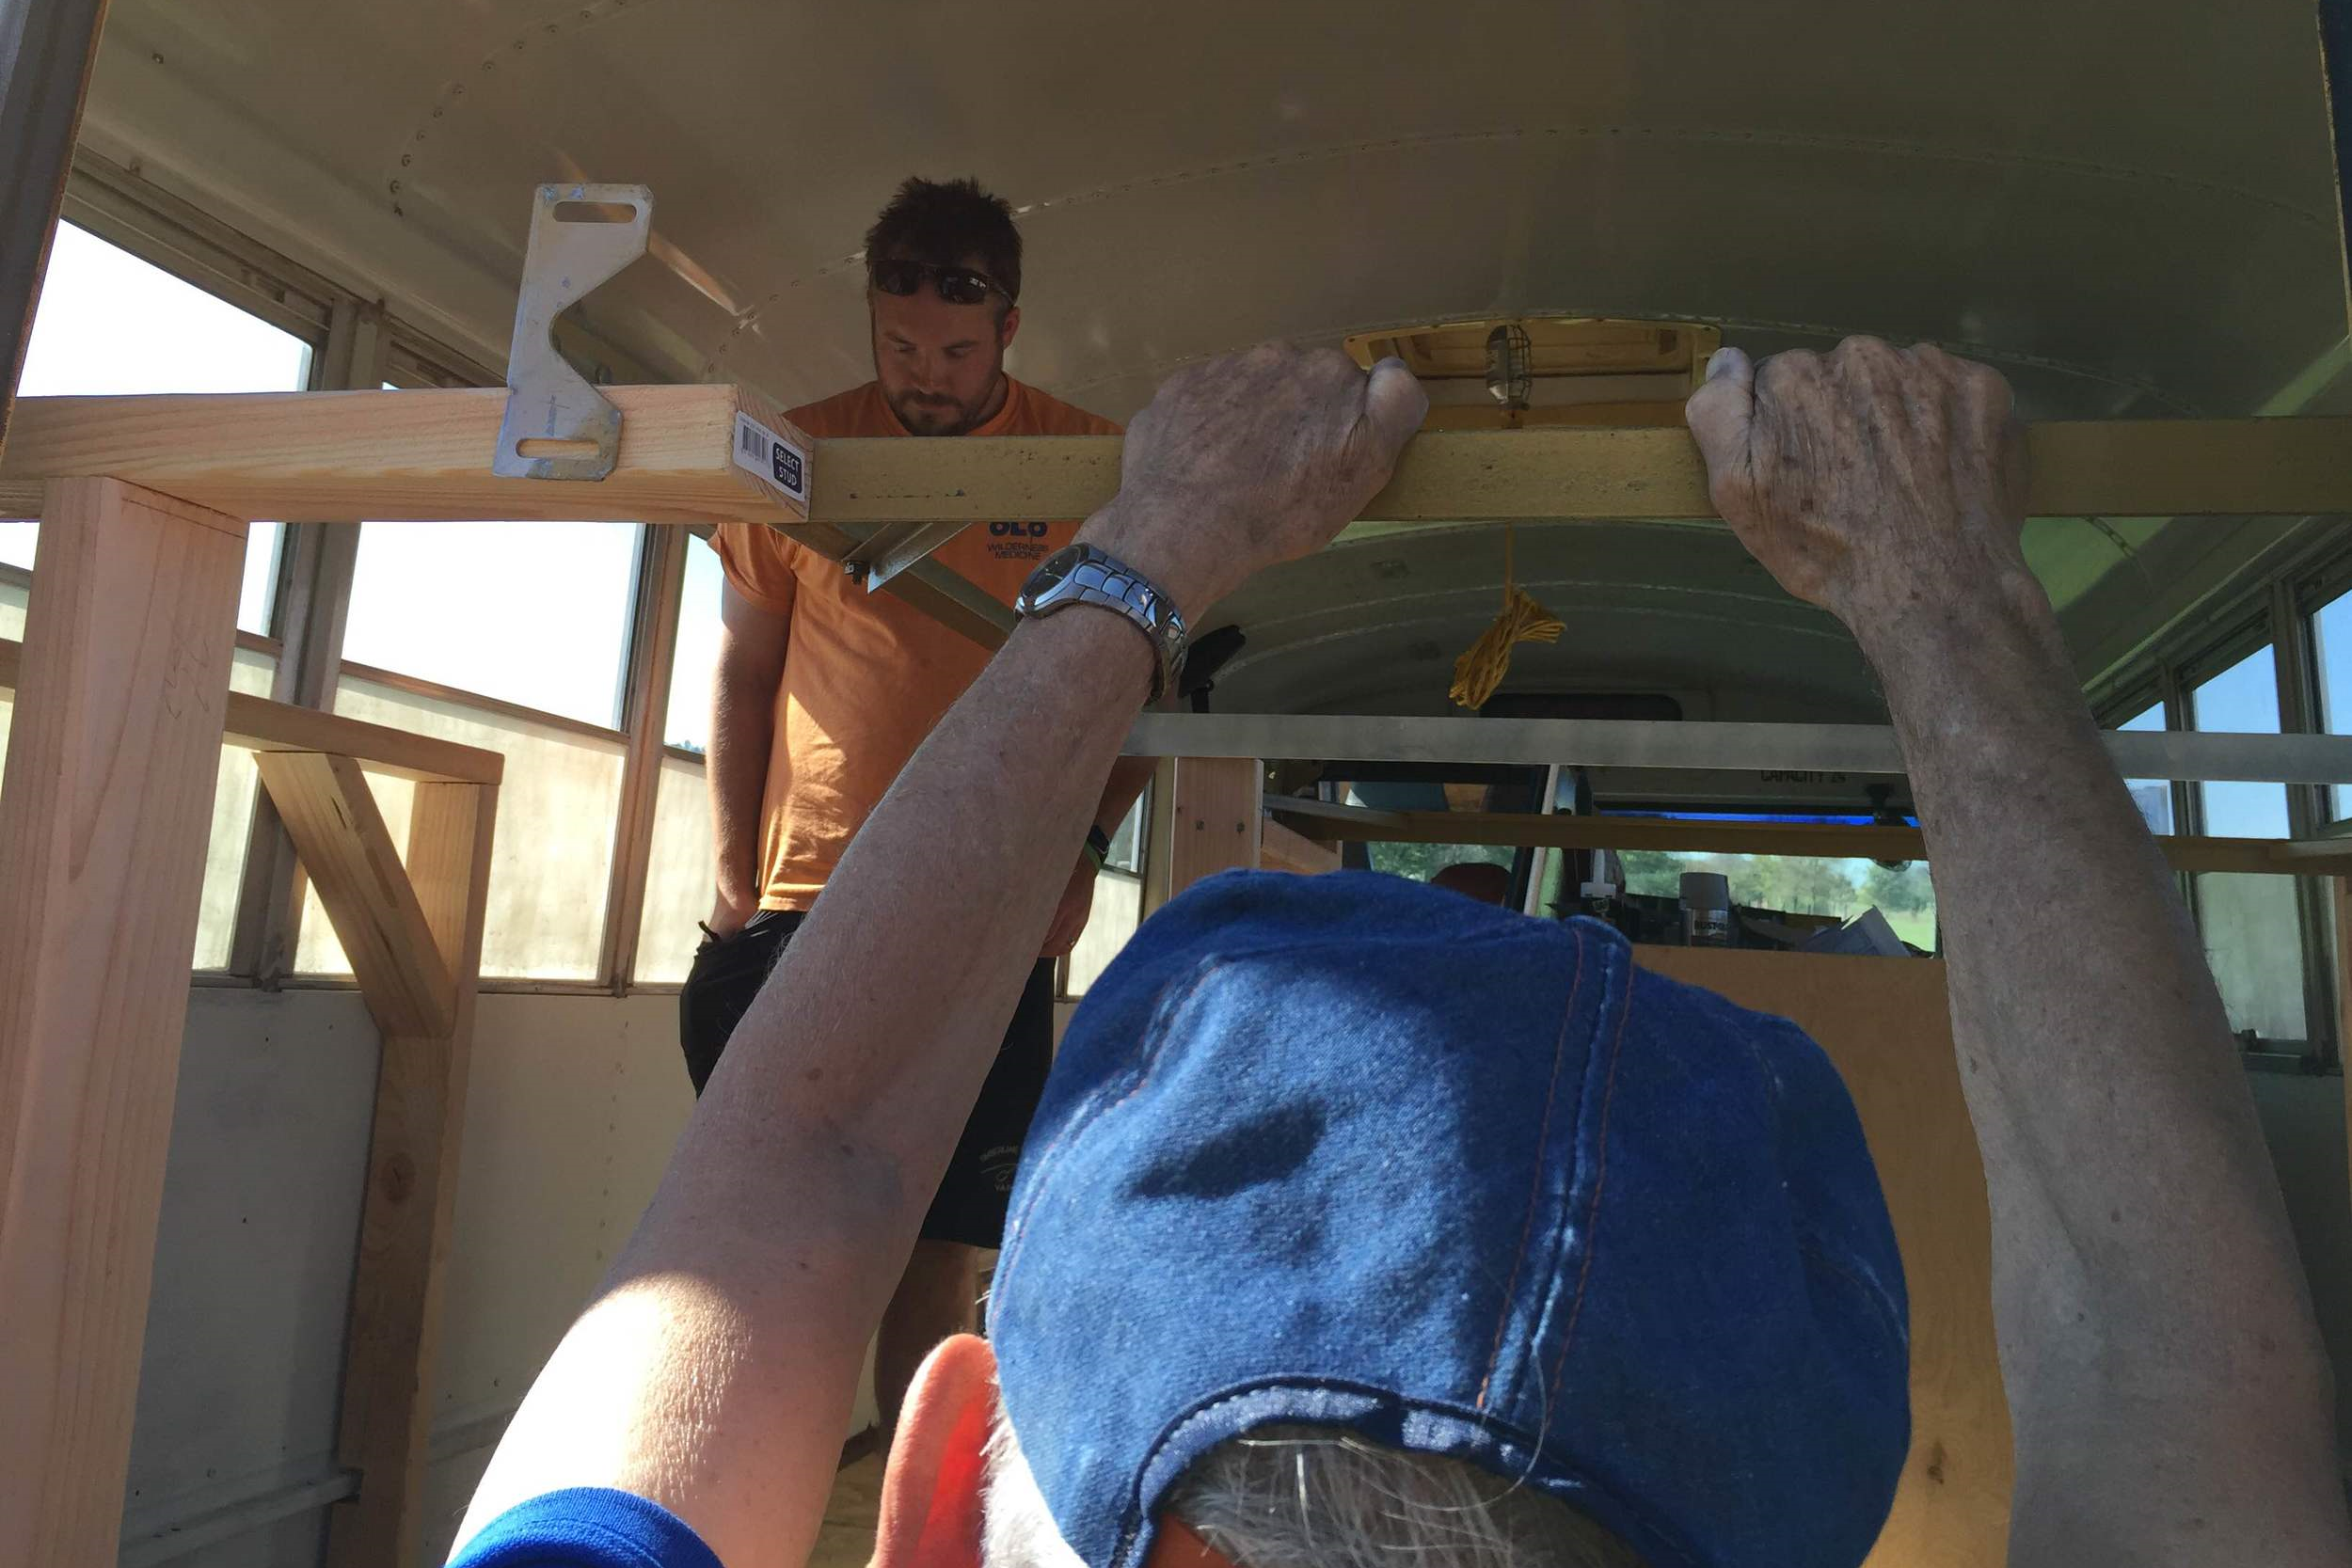
Today was our big push to finish the exterior of the bus and start focusing solely on the interior habitable space. Knowing that, we decided to tackle two tasks at once. I would tape off and paint the remaining stripes (I still had one full side of navy stripes to paint, in addition to a teal accent panel I was dead set on doing) while Christian continued to frame out the bed loft/garage area.

The bus, as we left it yesterday.

The bus, as we left it yesterday.

We made a morning run to the hardware store for a few select supplies and received a text from my Grandpa Bert asking what we needed help with today. I told him our plan and wouldn't you know, he pulled into the barn area right behind us as we arrived. We couldn't have been more thankful for his willingness to help. With him there to give me a hand taping off all of the stripes to paint, Christian could go about his carpentry without interruption.

I can't emphasize enough what a task it is preparing for the painting. With such clean lines to work with, it was so important to lay out the tape as precisely as possible, which meant going slowly and double checking everything. Not to mention, the bolts every few inches posed a fun obstacle when trying to achieve that straight clean line.

One coat of gloss Navy Blue applied.

One coat of gloss Navy Blue applied.

For the navy stripes, two coats was all it took to get full coverage. With my grandpa there to watch closely as I sprayed and point out spots I missed or went a little light, the work was fast when I finally got around to the painting.

I really have to hand it to Christian…he did a fantastic job of framing out and building the loft. I don't think I walked over once during the course of the day to see what he was cutting or what his plan was. I had so much else I was concentrating on getting done that I was just happy he was a few feet away [supposedly] making progress of his own. When I would take a break while my paint dried, I'd pop my head into the bus if he was working in there. Each time, more of the loft was coming together.

He didn't plan any of it, by the way. He built each portion of it as the plan came together throughout the course of the project. I think the most impressive part of the whole thing is how perfectly every element of the design worked and fit like we'd envisioned. 

Luckily my teal stripe only required a small section to be taped off. Because we'd only been able to find two cans of the glossy teal spray paint, we bought some satin of the same color to layer on as pigment before doing a final coat with glossy.

Grandpa Bert checking in on Christian's progress.

Grandpa Bert checking in on Christian's progress.

My first go-round with the teal paint, I didn't put two strips of paper down at the bottom. As a result, the wind and my negligence caused some accidental teal to land on the lower white and navy sections. I was able to touch up the white already, b…

My first go-round with the teal paint, I didn't put two strips of paper down at the bottom. As a result, the wind and my negligence caused some accidental teal to land on the lower white and navy sections. I was able to touch up the white already, but the navy I'll have to get to later. I was so many hours into working that noticing this mishap nearly caused a meltdown.

When we finally pulled all the tape and paper off, we couldn't help but admire how great Stubbs looked. It's far from perfect, but for being well under the cost of getting someone else to do it, we're incredibly pleased.

Christian continued to work on the loft space while I cleaned up and prepped to move the kitchen to its permanent spot.

After the loft was done, Christian secured the kitchen and we moved the filing cabinets into place. Without planning, there was just enough space for a 2x4 between them, so Christian built a frame and secured everything in place. (Don't mind the ugly tan…I haven't had the time to get all "Pinteresty" on the filing cabinets yet…that will come later.)

With the loft/bed frame and kitchen in place, you can kind of really start to see the layout come together. We only have one more day left to work and load up before we leave on Thursday, so we're both pretty happy there's a bed framed out.

After moving Stubbs back to Willie's backyard, we made one last run to Lowes for some cut pieces of 3/4 inch plywood to use as the bed base. We wanted the cuts as exact as possible to prevent movement/falling through the frame, so we had them cut it at the store. Sadly, they were about 1/8 in too wide, so tomorrow's work will start with us cutting them down to fit into the frame. 

I'm including a before/after photo of Stubbs to really show off the difference that the paint job makes because we're just so stinkin' proud of it!

11.09.15 - Stubbs Gets Stripes - Day 13.

Like always, the day started with shopping. We bought a dozen 2x4s to frame out the bed, a project that we may have halfway finished. The majority of the day was spent painting, which is too bad, because we did not expect to be spending another full day on the exterior.

In between waiting for coats of Rustoleum and roof paint to dry, Chels got started covering the windows in Plasti Dip, a spray-on, peel-off rubber paint. We're using it to add privacy to our windows while keeping diffused light. Because of the ability to peel it off, we can always change it later.

I started on framing out the bed, which will be challenging due to its odd shape, and the need to keep the space beneath it as free of vertical supports as possible. Hopefully tomorrow's post will have pictures that make more sense. The bed will be lofted to create a storage area underneath, where the bikes, and hopefully my boat (and wishfully, my skis and kayak) will be kept.

Meanwhile, Chels and grandpa Bert started taping off the racing stripes.

We chose to add racing stripes over all the ridged areas of the bus because rolling on the paint was tedious and time consuming in these areas. We thought it would be faster to paint them a different color, using spray cans. This plan totally backfired, because while the end result looked awesome, the taping took FOREVER.

As the sun set, we peeled off some of Stubbs' tape, and boy-oh-boy, does that paint job look good. She's looking less like a prison bus every day. (The stripes are a dark navy.)

We worked on through the sunset into the darkness adding more Plasti Dip to the interior and more 2x4s to the bed frame. As the temperature dropped, the Plasti Dip started to do some weird clumping things on the cold glass of the windows, so maybe keep that in mind if any of you go that direction with a project. The temp was well above freezing.

All in all, we didn't accomplish as much as we'd hoped, but the bus is really starting to look good, which I think is a key element in the conversion process. Most all of the interior can come together after we leave for Texas. As long as the outside is looking good and the bed is fairly well framed in and ready for sleeping, we're good to go.